Few fighting game stages are as instantly recognizable or strategically compelling as the High Noon Saloon from Dead or Alive 2. For many, this stage isn’t just a backdrop; it’s a character in itself, etched in the memories of countless battles. The clatter of spurs, the swinging saloon doors, and the ever-present threat of a ring out created a thrilling atmosphere unlike any other. As a pivotal title in the landscape of 3D fighting games, Dead or Alive 2 raised the bar, and the High Noon Saloon was a prime example of its innovation.
Stepping into this virtual Wild West was always more than just selecting a stage; it was an invitation to a dynamic and potentially perilous showdown. The multi-tiered environment, breakable objects, and precarious ledges opened up a world of tactical possibilities that rewarded clever fighters. Beyond the nostalgia, the High Noon Saloon stands as a testament to brilliant stage design. This article will lasso the core elements that made this stage so unforgettable by analyzing its layout and detailing expert tactics that gave players the competitive edge. Get ready to relive the glory days and discover new strategies for mastering the High Noon Saloon.
A Deep Dive into the High Noon Saloon
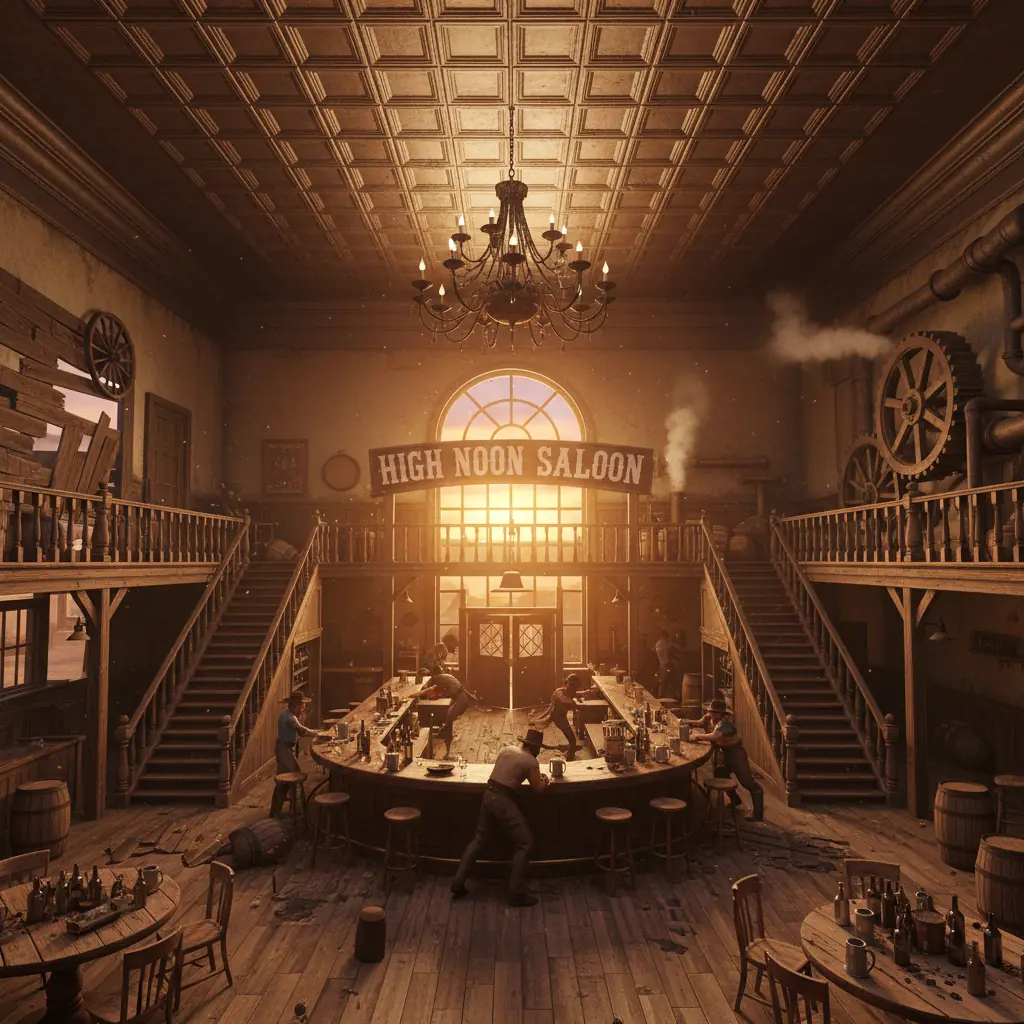
The High Noon Saloon, a classic stage from DOA2, isn’t just a backdrop; it’s a character in itself. The stage layout, interactive elements, and visual design combine to create a unique and dynamic fighting environment that keeps players on their toes. Its multi-tiered structure and abundance of stage hazards set it apart, forcing fighters to adapt to the ever-changing landscape. The design feels inspired by classic Westerns, conjuring images of dusty saloons and showdowns at high noon. The heart of any good fight is on this stage, from the clinking glasses to the brawls breaking out, the environment amplified the intensity. More than just window dressing, it affected gameplay, and rendering a stage with such vertical complexity was a real technical achievement for its time.
The Three Tiers of Mayhem
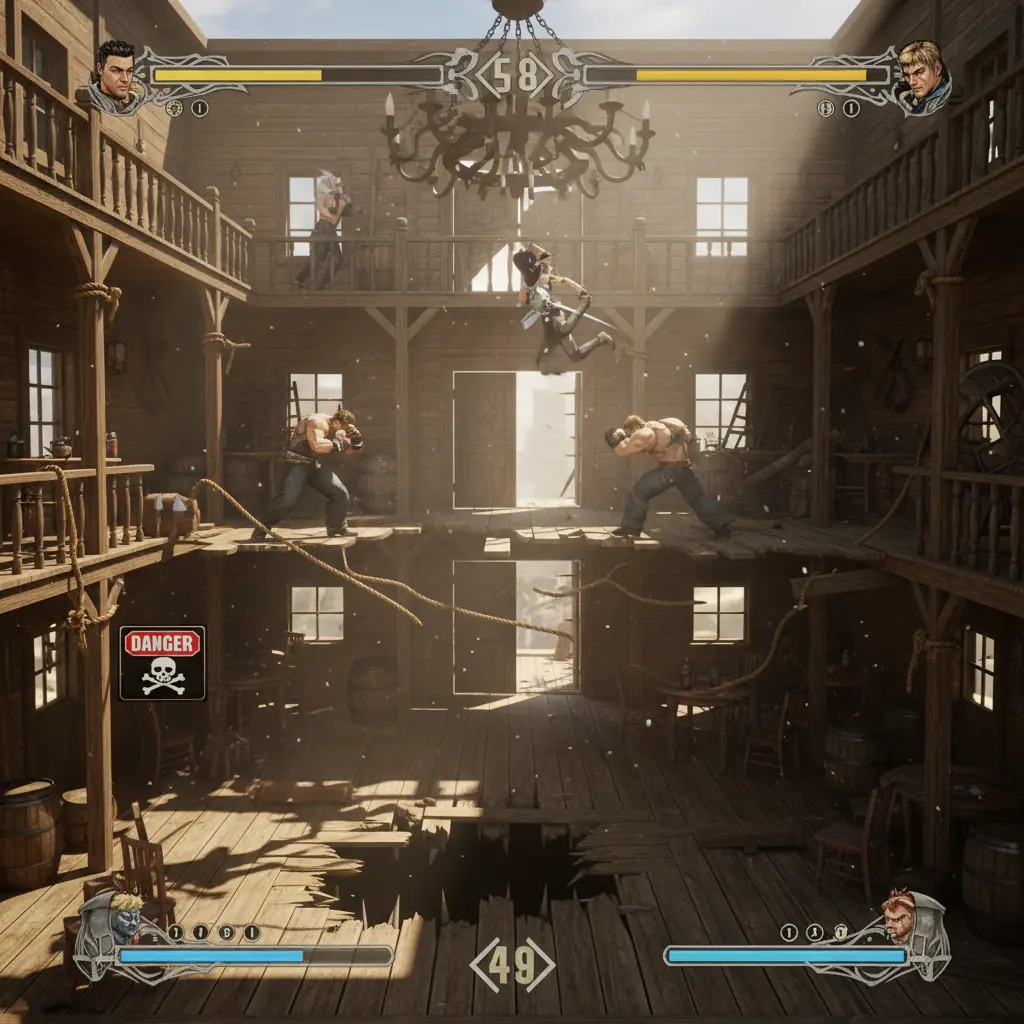
The High Noon Saloon is divided into three distinct tiers, each offering unique strategic advantages and disadvantages. The top tier, reminiscent of a balcony overlooking saloon and the surrounding landscape, allows for a commanding view and the possibility of knockdowns to tiers below. Precise footwork is essential for maintaining dominance on the second story. The middle, “main saloon” tier is where most of the initial action unfolds, is a relatively larger space offering room to maneuver and to perform combos. Finally, the bottom tier places you right in the thick of the action, with the ever-present danger of knockdowns to the arena below. The changes in elevation dramatically impact movement and attack options. A perfectly timed jump attack from the top tier can devastate an opponent, while falling off a ledge can leave you vulnerable to follow-up attacks.
Hazards and Hotspots
The High Noon Saloon is littered with danger zones, making environmental awareness as important as fighting prowess. Ledges are a constant threat near edges, and are prime spots for environmental knockouts. Breakaway walls, another key hazard, add an element of surprise. Triggering these walls not only creates new openings but also deals damage to anyone caught in the blast. Players can be left exposed, or better yet find an alternative route. Knowing where these hazards are and how to exploit them is crucial for victory. The viability of these hazards in high-tier battles is surprisingly high. A well-timed strike near a ledge can lead to a quick and decisive win, but it requires precision and timing. Neglecting these dangers can quickly turn the tide of battle, transforming a seemingly safe position into a deadly trap.
Strategic Advantages and Gameplay Tactics
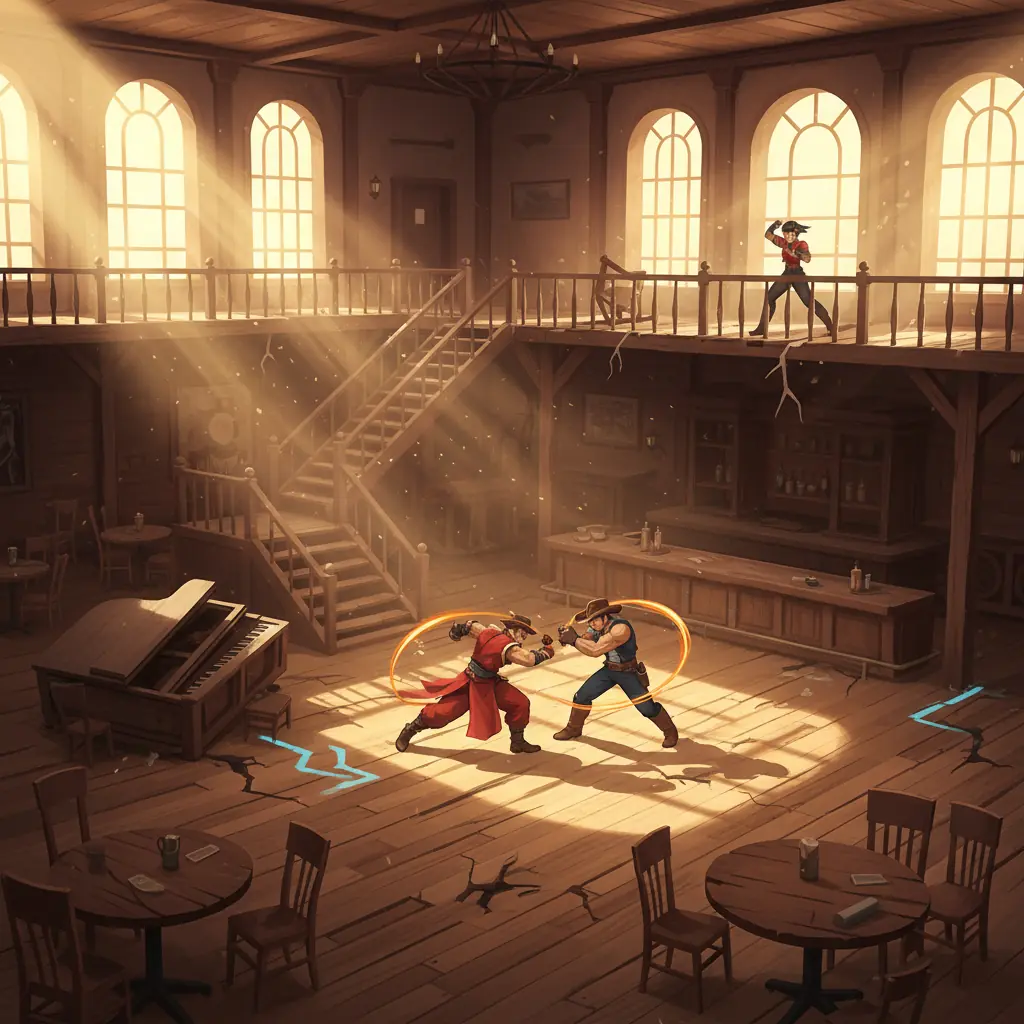
The High Noon Saloon in Dead or Alive 2 isn’t just a backdrop; it’s a dynamic arena demanding specific stage tactics and fighting strategies. Its verticality and interactive elements create opportunities for ledge traps and corner control that can significantly impact a match. Mastering this stage means understanding how to exploit its unique characteristics for both offense and defense. It’s a place where raw skill meets clever manipulation of the environment.
Offensive Strategies
Aggressive tactics on the High Noon Saloon revolve around capitalizing on the stage’s ledges and corners. Effective offensive moves include throws and aerial attacks that can send opponents plummeting. Characters with strong throw games shine here as they can quickly reposition opponents into compromising situations. Setups involving wall splats followed by quick combos are devastating. One particularly nasty setup involves baiting an opponent near the edge and launching them with a well-timed upward strike, leading to an almost guaranteed fall. The stage’s confined space encourages pressuring your opponent, using quick strikes and movement to keep them on the defensive.
Defensive Strategies
Defense on the High Noon Saloon is about controlling space and anticipating your opponent’s aggression. Defensive moves, like sidesteps and reversals, are crucial for evading pressure. Zoning becomes a key tool, using long-range attacks to keep opponents at bay and dictating the pace of the fight. Reading the enemy’s attack patterns is essential, allowing for well-timed counterattacks that can shift the momentum. When pressured in a corner, prioritize creating distance with backward dashes or utilizing characters with quick escape options. Parrying and counter striking is important on offensive opponents while on the defensive.
Mastering Stage Control
In Dead or Alive 2, stage control is paramount to securing victory, especially on a dynamic arena like the High Noon Saloon. It’s more than just moving around; it’s about dictating the flow of combat through strategic positioning, effective space control, and calculated pressure. A player who commands the stage dictates the pace, limits the opponent’s options, and maximizes their own offensive and defensive capabilities. Zoning and pressuring are key tactics to force your opponent into predictable movements, opening them up for devastating attacks. Think of it as a chess match, where each step is calculated to dominate the area. For example, in character matchups, where one character has a superior range, effective zone control can completely shut down their opponent’s offensive options at the High Noon Saloon.
Optimizing Positioning
Gaining an advantageous position is essential. It’s not random. It’s a calculated dance for the best spot to launch an attack. Each character has optimal placement on the stage; for instance, a character with a strong counter-attack benefits from positioning themselves in a more defensive stance, baiting the opponent into a predictable move. Positioning behind an opponent at the High Noon Saloon is advantageous as it limits their escape and opens a way to perform combos. Utilize the stage layout to your advantage; being near a corner can be a double-edged sword, but in the right hands, it becomes a trap.
Denying Opponent Control
It’s insufficient to only focus on your space; one needs to actively deny control to the enemy. Counter-positioning is key: anticipate where your opponent wants to be and take that space from them. Players can use tactical setups such as cornering to limit them, or knockdowns to set up ground-based attacks. On the High Noon Saloon, use the environment to your advantage. Understanding the opponent’s weakness will make denying them space much easier. For example, if an opponent is trying to zone you in order to win, you can corner them and use close-range attacks to counter their attempts.
The High Noon Saloon’s Legacy
The High Noon Saloon from Dead or Alive is not just a backdrop; it’s a landmark in fighting game history. Its distinctive design and interactive elements have made a lasting impression, influencing stage design in the Dead or Alive series and beyond.
More than just eye-candy, the Saloon introduced a level of environmental interaction that was innovative for its time. The destructible elements and strategic stage positioning added a layer of depth to matches, pushing players to think beyond simple combos. This focus on stage awareness has become a staple in modern fighting games, marking the Saloon as a true pioneer.
Compared to other iconic stages, the High Noon Saloon stands out for its blend of thematic flair and gameplay integration. Other memorable fighting game stages often rely on visual spectacle, but the Saloon offered a tangible impact on the fight itself. This is why fans continue celebrating it.
The possibility of seeing the High Noon Saloon reimagined for a future Dead or Alive title is exciting. Imagine the stage with updated graphics, new interactive elements, and expanded strategic possibilities. It would be an interesting and relevant way to honor the stage’s legacy.
Conclusion
The High Noon Saloon of Dead or Alive 2 stands as a monumental achievement in fighting game stage design. Its multi-tiered structure, interactive elements, and strategic complexities elevate it beyond a simple backdrop and transform it into a dynamic element of combat. The stage’s design showcases how thoughtful environmental implementation can encourage tactical decision-making and create memorable match experiences.
From utilizing the upper balcony for positional advantage to capitalizing on the explosive barrels for devastating ring outs, mastering the High Noon Saloon requires shrewdness and adaptability. The stage’s enduring legacy proves that exceptional stage design can profoundly impact a fighting game’s strategic depth and overall appeal. It remains a gold standard and a masterclass for developers and players alike. Consider revisiting the High Noon Saloon, armed with this knowledge, to fully appreciate its brilliance.